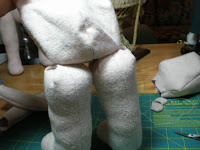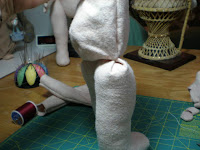


 Adding the legs turned out to be a more challenging project than I expected. The legs were cut straight across at the top and left open after stuffing, so I was curious how they would be attached, as the photo with the pattern shows a standing doll. The legs are stuffed and then they are pleated at the top and inserted into openings left in the body piece when sewing it together. But you have to turn the body piece down so that when the leg top is inserted you can sew the body and leg together from the inside. This must be done by hand as there is no way to use the machine with the leg stuffed - and when the second leg was added there was very little room to work. As I reversed the legs when sewing them on the FIRST time, it was easier the second time I did this. :<} You have to also keep clear where the front and back of the body is when adding the legs so that they are not on backwards and I was so intent on doing this as I forgot that each foot has a curved instep, so I also had to keep straight the right and the left as well as the front and the back and the size of the pleat to fit into the body opening and how to pull the fabric down to sew and then add the second leg . . . so I sewed them on reversed and had to rip out both of the seams and do it all over again and well, I was relieved when the legs were attached. But obviously this is not a standing doll without using a doll stand and I want my Shirley Temple doll to stand on her own. This is a good doll body for a sitting doll or a baby doll. Now for the arms - they are attached the same way.
No comments:
Post a Comment